
Nikon F100 Instruction Manual: A Comprehensive Guide
Welcome! This comprehensive guide details the Nikon F100’s operation, mirroring features of the F5 in a scaled-down body. It’s designed for both beginners and experienced photographers seeking detailed instructions.
Explore loading film, battery management, and mastering exposure modes. Learn about the advanced metering system, focusing techniques, and utilizing the self-timer effectively.
Discover flash photography capabilities, proper film rewinding procedures, and essential troubleshooting steps. This manual also covers maintenance, care, and accessing parts/service information.
Find resources for further learning and unlock the full potential of your Nikon F100!
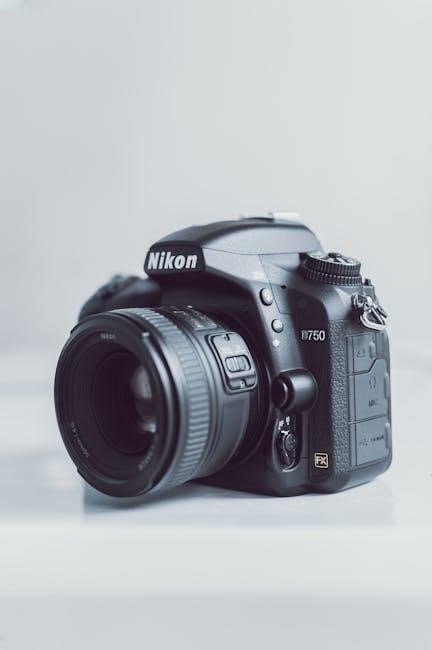
The Nikon F100, released in 1996, represents a pivotal point in Nikon’s professional-grade 35mm film camera lineup. Often described as a “scaled-down F5,” the F100 inherited many of the flagship model’s advanced features, delivering exceptional performance in a more accessible and robust package. This camera quickly gained popularity among professionals and serious enthusiasts alike, prized for its reliability, sophisticated metering system, and excellent viewfinder.
This instruction manual serves as your comprehensive guide to understanding and utilizing the full capabilities of the Nikon F100. Whether you are a seasoned film photographer or just beginning your journey, this resource will provide clear, concise instructions on every aspect of the camera’s operation. From loading film and installing batteries to mastering exposure modes and utilizing flash photography, we will cover it all.
The F100’s appeal lies in its blend of professional features and user-friendly design. It’s a camera built to withstand the rigors of professional use, yet intuitive enough for amateur photographers to quickly grasp its functionalities. This guide aims to unlock that potential, helping you capture stunning images with confidence and creativity. We will also touch upon basic troubleshooting and maintenance to ensure your F100 remains a reliable companion for years to come.
Key Features and Specifications
The Nikon F100 boasts a remarkable array of features packed into its durable, weather-sealed body. Central to its performance is a 5-area Multi-CAM 1000 autofocus system, offering precise and reliable focusing across a wide range of shooting conditions. The camera’s metering system is equally impressive, providing accurate exposure readings in various modes, including matrix, center-weighted, and spot metering.

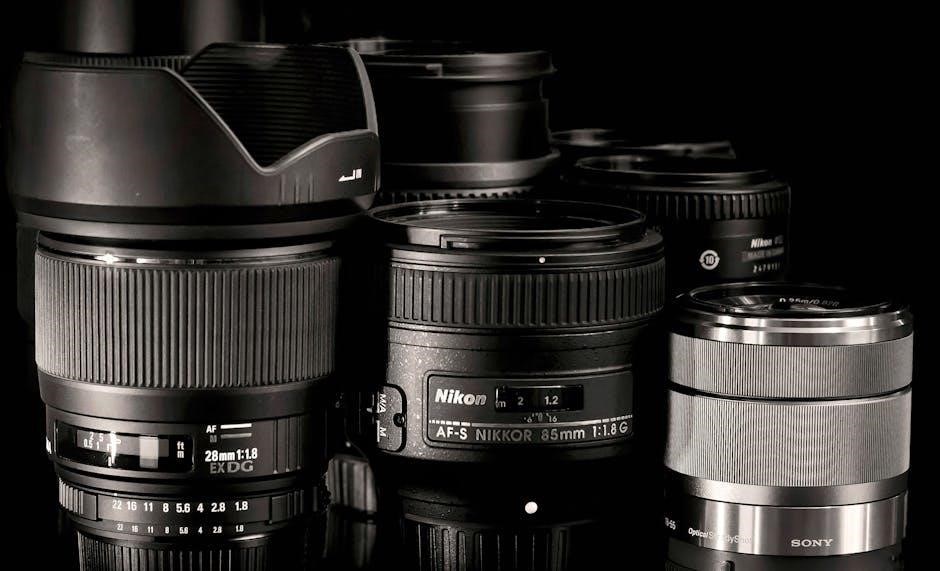
Key specifications include a focal plane shutter with speeds ranging from 30 seconds to 1/4000th of a second, ensuring versatility in diverse lighting scenarios. It supports continuous shooting at up to 3 frames per second, ideal for capturing action sequences. The F100 accepts Nikon F-mount lenses, offering compatibility with a vast ecosystem of optics.
Furthermore, the camera features a large, bright viewfinder providing a clear and comprehensive view of the scene. It also offers a range of customizable settings, allowing photographers to tailor the camera’s operation to their specific preferences. The F100’s robust build quality and advanced features make it a truly exceptional 35mm film camera, capable of delivering professional-quality results.
Loading Film into the Nikon F100
Loading 35mm film into the Nikon F100 is a straightforward process. First, locate the film chamber release latch on the camera’s left side. Open the back cover by sliding this latch. Next, insert the film cassette into the film chamber, ensuring it sits securely. Pull the film leader across the camera body and insert it into the take-up spool.
Advance the film winding lever a couple of times, observing that the film is properly engaging with the take-up spool. Close the back cover firmly until it clicks shut. The film counter will automatically begin to register the number of exposures taken.
It’s crucial to ensure the film is loaded correctly to prevent damage to the camera or the film itself. If you encounter resistance while winding, stop and re-check the film path. Always rewind the film completely before opening the back cover to avoid accidental exposure. Refer to online resources like NikonF100.com for visual guidance if needed, ensuring a smooth and successful film loading experience.
Battery Installation and Management
The Nikon F100 utilizes a CR123A lithium battery to power its functions. To install the battery, locate the battery compartment on the camera’s bottom. Slide open the compartment cover and insert the battery, observing the correct polarity (+ and -) markings inside. Ensure the battery clicks securely into place.
The F100’s viewfinder will display a battery level indicator. Pay attention to this indicator to avoid unexpected power loss during shooting. A flashing low battery symbol indicates the battery needs replacing. It’s advisable to carry a spare CR123A battery, especially during extended shooting sessions.
Remove the battery if the camera will not be used for an extended period to prevent potential corrosion. Avoid mixing old and new batteries. Properly dispose of used batteries according to local regulations. Understanding battery management ensures reliable operation and prolongs the lifespan of your Nikon F100.
Understanding the Viewfinder Display
The Nikon F100’s bright and clear viewfinder provides crucial shooting information. At the bottom, you’ll find indicators for exposure settings, including shutter speed and aperture. These values dynamically change as you adjust camera settings. Focus confirmation points illuminate when the subject is in focus, aiding precise image capture.
The viewfinder also displays metering information. A needle indicates the exposure level, helping you determine if the image will be properly exposed. Indicators show if the image is underexposed (to the left) or overexposed (to the right). Additionally, the viewfinder shows the selected focus mode and active autofocus points.
A diopter adjustment dial compensates for individual vision differences, ensuring a sharp viewfinder image. Familiarizing yourself with these elements allows for quick and accurate adjustments, maximizing your control over the photographic process and ensuring optimal results with your Nikon F100.
Exposure Modes: Auto and Manual
The Nikon F100 offers a versatile range of exposure modes to suit various shooting situations. Programmed Auto (P) mode allows the camera to automatically select both shutter speed and aperture, prioritizing ease of use. Aperture-Priority Auto (A) lets you set the aperture, while the camera determines the appropriate shutter speed for correct exposure.

Shutter-Priority Auto (S) mode functions conversely, allowing you to control the shutter speed while the camera adjusts the aperture. Manual (M) mode grants complete control over both shutter speed and aperture, ideal for challenging lighting or creative effects. The camera’s metering system assists in achieving proper exposure in Manual mode.
Additionally, the F100 features scene modes for specific scenarios like portrait or landscape. Understanding these modes empowers you to adapt to diverse photographic opportunities, balancing convenience with creative control. Experimenting with each mode will unlock the full potential of your Nikon F100 and refine your photographic style.
Metering System Explained
The Nikon F100 boasts a sophisticated metering system crucial for accurate exposure. It employs a 5-area light-weighted metering mode, evaluating light across a broad area of the frame. This provides a balanced exposure in most situations. Center-weighted metering prioritizes the center of the frame, useful for portraits or subjects requiring focused exposure.
Spot metering measures light from a very small area, ideal for challenging lighting conditions or when precise exposure of a specific subject is needed. The F100 also features matrix metering, analyzing the entire scene to determine optimal exposure settings. Exposure compensation allows you to fine-tune the camera’s metering, brightening or darkening the image as desired.
Understanding these metering modes and utilizing exposure compensation empowers you to achieve consistently well-exposed photographs. The F100’s advanced metering system, inherited from the F5, ensures reliable performance in diverse shooting environments, offering both automation and creative control.
Focusing Modes and Techniques
The Nikon F100 offers versatile focusing capabilities to suit various shooting scenarios. It primarily utilizes a traditional autofocus (AF) system with five focus points, selectable via controls on the camera’s rear panel. These points allow you to prioritize focus on specific areas within the frame.
The camera supports both single-servo AF (AF-S) for stationary subjects and continuous-servo AF (AF-C) for tracking moving subjects. Manual focus (MF) is also readily available, providing precise control when autofocus isn’t ideal. Utilizing focus lock allows you to separate focusing from shooting, locking focus on a subject and recomposing the shot.
Back-button focus, though not a native feature, can be achieved through custom settings, enhancing control. Mastering these focusing modes and techniques is essential for capturing sharp, well-defined images. The F100’s robust AF system, combined with manual override, delivers reliable performance in diverse photographic situations.
Depth of Field Control
Understanding depth of field is crucial for creative control in your photography with the Nikon F100. Depth of field, the area in acceptable focus, is influenced by three key factors: aperture, focal length, and subject distance.
The F100’s aperture ring on the lens allows precise control. Smaller apertures (higher f-numbers like f/16 or f/22) yield greater depth of field, ideal for landscapes where sharpness throughout the scene is desired. Conversely, larger apertures (lower f-numbers like f/2.8 or f/4) create shallow depth of field, isolating the subject with a blurred background – perfect for portraits.
Focal length also plays a role; longer focal lengths generally produce shallower depth of field. Subject distance impacts depth of field inversely – closer subjects result in shallower depth of field. The F100’s depth-of-field preview button allows you to visualize the effect of your aperture settings before taking the shot, ensuring desired results.
Using the Self-Timer
The Nikon F100’s self-timer function is invaluable for situations where you want to be included in the photograph or need to avoid camera shake during long exposures. Activating the self-timer is straightforward. Locate the drive mode dial on the camera’s top panel and rotate it to the self-timer setting, indicated by a clock icon;
Once activated, the shutter release button becomes a two-step process. Pressing it halfway initiates a 10-second countdown, signaled by the blinking LED on the camera’s rear panel. During this countdown, the mirror flips up, preparing for the exposure. Fully pressing the shutter release button during the countdown initiates the exposure.
To cancel the self-timer before the exposure, simply turn the drive mode dial to another setting. The F100 also offers a self-timer remote release option for even greater convenience and control, eliminating the need to touch the camera during the countdown. This minimizes potential camera movement.
Flash Photography with the F100
The Nikon F100 offers versatile flash photography capabilities, supporting both built-in flash and external flash units. The camera features several flash modes, accessible through the flash mode button on the rear panel. These include TTL (Through-The-Lens) metering for automatic flash exposure, manual flash control for precise adjustments, and front-curtain/rear-curtain sync options.
When using an external flash unit, ensure it’s compatible with the Nikon system and properly mounted on the hot shoe. The F100’s TTL metering system automatically calculates the correct flash output based on the scene’s lighting conditions. For manual flash control, you’ll need to set the flash power manually, considering factors like distance to the subject and film sensitivity.
High-speed sync (HSS) allows you to use flash with faster shutter speeds, overcoming the camera’s sync speed limitation. Experiment with different flash modes and settings to achieve the desired lighting effects. Remember to consult the flash unit’s manual for specific instructions and features.
Film Rewinding and Camera Shutdown
Rewinding film with the Nikon F100 is a straightforward process. After reaching the end of the roll, press the film rewind button on the bottom of the camera. Then, lift the rewind crank and turn it in the direction of the arrow until you feel resistance. Continue turning until the film is completely retracted into the canister.
Once rewound, open the camera back by lifting the film door latch. Carefully remove the film canister. Important: Avoid exposing the film to bright light before developing. To shut down the F100, simply turn the main power switch to the ‘OFF’ position.
Removing the battery immediately after use isn’t necessary, as the camera has a low power consumption. However, if storing the camera for an extended period, it’s recommended to remove the battery to prevent potential leakage. Proper film rewinding and shutdown procedures ensure the longevity of your camera and the preservation of your images.

Basic Troubleshooting
Problem: Camera won’t turn on. Solution: Ensure the battery is correctly installed and has sufficient charge. Try a fresh set of batteries. If the issue persists, check the battery contacts for corrosion.
Problem: Film won’t advance. Solution: Verify the film is loaded correctly and the rewind knob isn’t engaged. Check for any obstructions in the film path. Ensure the camera isn’t in self-timer mode.
Problem: Viewfinder is dark. Solution: Adjust the diopter setting on the viewfinder to match your vision. Confirm the lens aperture is open and the shutter speed is appropriate for the lighting conditions.
Problem: Error messages displayed. Solution: Consult the camera’s manual for specific error code explanations. Resetting the camera by removing and reinserting the battery may resolve some errors. If problems continue, professional service is recommended.
Maintenance and Care
Cleaning the Camera Body: Use a soft, dry cloth to wipe the exterior of the Nikon F100. Avoid using solvents or abrasive cleaners, as these can damage the finish. Gently remove dust from crevices with a blower brush.
Lens Care: Clean the lens elements with lens paper and a dedicated lens cleaning solution. Avoid touching the glass surface with your fingers. Store lenses with caps on in a dry, dust-free environment.
Storage: When not in use, store the camera in a cool, dry place, away from direct sunlight and extreme temperatures. Consider using a camera bag or case for added protection.
Battery Maintenance: Remove batteries if the camera will not be used for an extended period to prevent corrosion. Regularly check battery contacts for cleanliness. Avoid mixing old and new batteries.
Professional Servicing: For complex repairs or cleaning of internal components, it’s recommended to utilize Nikon’s authorized service centers. Regular professional servicing ensures optimal performance and longevity.

Nikon F100 Parts and Service Information
Locating Replacement Parts: Obtaining genuine Nikon F100 parts can be challenging due to its age. Specialized camera parts retailers and online auction sites are potential sources. Ensure parts are compatible before purchasing.

Nikon Service Centers: Nikon’s official service centers offer professional repair and maintenance services. Contact Nikon’s customer support to locate an authorized service center near you. Be prepared to provide your camera’s serial number.
Independent Repair Shops: Several independent camera repair shops specialize in film cameras. Research their experience and reputation before entrusting them with your F100.
Service Manuals: Factory service manuals, often available online for download, provide detailed schematics and repair instructions for experienced technicians. These are invaluable for complex repairs.
Repair Costs: Repair costs vary depending on the issue and the service provider. Obtain quotes from multiple sources before proceeding with any repairs. Consider the cost of repair versus the camera’s value.
Resources and Further Learning
Online Forums & Communities: Numerous online photography forums and communities dedicated to film photography offer valuable resources and support for Nikon F100 users. Share experiences, ask questions, and learn from fellow enthusiasts.
Nikon’s Official Website: While direct support for older models may be limited, Nikon’s official website (https://www.nikonusa.com/) provides general information about Nikon cameras and accessories.
The Manual Library: Websites like The Manual Library (https://www.manualslib.com/) host user manuals and service documentation for a wide range of cameras, including the Nikon F100.
Photography Books & Tutorials: Explore photography books and online tutorials covering film photography techniques, exposure control, and composition. These resources enhance your understanding.
NikonF100.com: Dedicated websites like NikonF100.com offer specific information and resources tailored to the Nikon F100, including film loading guides and troubleshooting tips.
YouTube Channels: Many YouTube channels feature tutorials and reviews of film cameras, providing visual demonstrations and practical advice for Nikon F100 users.