
MRCH2 Installation Manual: Overview
This manual details the installation of the MRCH2 controller, MIFH2 receiver, and MRC2 cable. Disconnect power before starting; improper installation risks electrical shock.
Detailed steps cover mounting, receiver connection, and wiring, ensuring a smooth HVAC system integration. Refer to the guide for homeowner assistance and troubleshooting.
The MRCH2 system represents a significant advancement in HVAC control, offering homeowners and professionals enhanced remote access and system management capabilities. This system comprises the MRCH2 controller, the MIFH2 receiver, and the MRC2 cable, working in concert to bridge existing HVAC infrastructure with modern smart home technologies.
Designed for compatibility with a wide range of HVAC systems, the MRCH2 facilitates seamless integration, enabling users to monitor and adjust temperature settings from virtually anywhere. The system prioritizes ease of installation, as evidenced by the detailed guides available. Proper installation, however, is crucial, and always requires disconnecting power to prevent electrical hazards. This manual provides a comprehensive overview, ensuring a successful setup and optimal performance.
Package Contents Verification
Before commencing installation, carefully verify the contents of the MRCH2 package. Ensure all components are present and undamaged. Your package should include one MRCH2 controller unit, one MIFH2 receiver, and one MRC2 connecting cable. Inspect each item for any visible signs of shipping damage, such as cracks, dents, or loose connections.
A complete package is essential for a smooth installation process. If any components are missing or appear damaged, do not proceed. Immediately contact technical support to report the issue and arrange for replacements. Retain all original packaging materials for potential return or warranty claims. Accurate verification prevents delays and ensures a fully functional system upon completion.
Safety Precautions
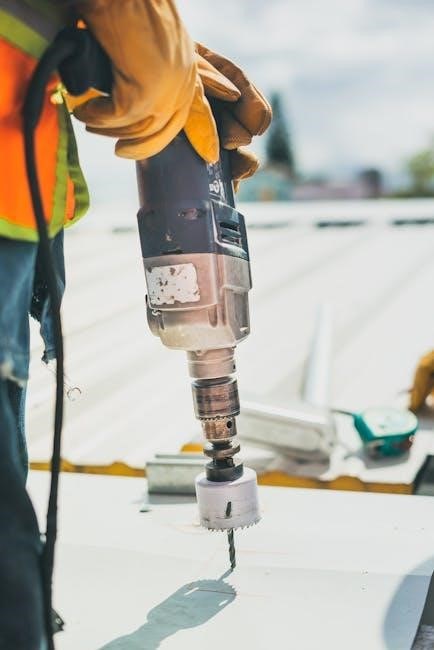
Prioritize safety during MRCH2 installation. Always disconnect power to the HVAC system at the breaker before beginning any wiring or component handling. Failure to do so presents a serious risk of electrical shock. Qualified personnel should perform the installation, adhering to all local and national electrical codes;
Exercise caution when mounting the controller and receiver. Ensure secure attachment to prevent accidental dislodgement. Avoid exposing components to excessive moisture or extreme temperatures. Use appropriate tools and personal protective equipment, including safety glasses and insulated gloves. Improper handling can lead to equipment damage or personal injury.
Installation Process
Begin by securely mounting the MRCH2 controller, then connect the MIFH2 receiver. Follow the detailed wiring diagram, ensuring correct power supply connections for optimal performance.
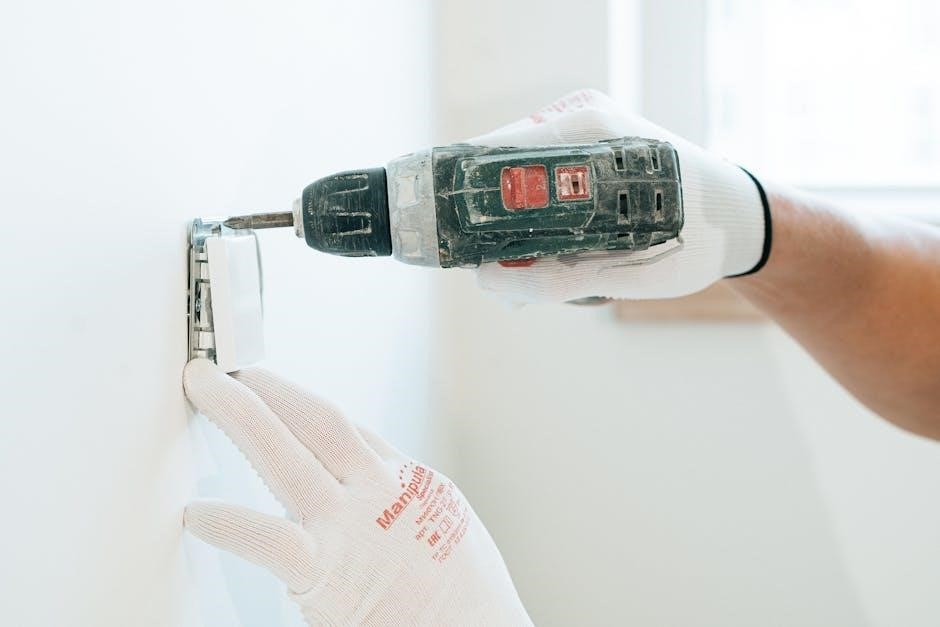
Mounting the MRCH2 Controller
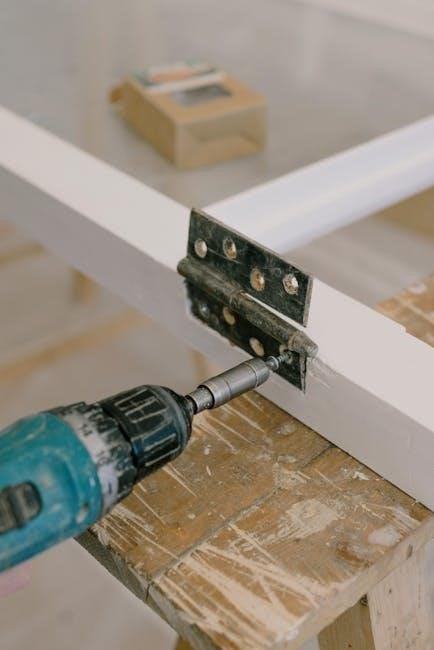
Securely mount the MRCH2 controller, ensuring proper alignment and level placement for optimal performance and aesthetic integration within your home environment. Prior to mounting, carefully inspect the chosen location, verifying it’s free from obstructions and within range of the HVAC system and the MIFH2 receiver.
Utilize appropriate screws and anchors suitable for your wall type to guarantee a stable and lasting installation. Avoid mounting near sources of extreme temperature fluctuations or direct sunlight, as this could affect the controller’s functionality. Double-check the controller is firmly attached before proceeding to the next step, preventing potential falls or damage. Proper mounting is crucial for reliable operation.
Connecting the MIFH2 Receiver
Connect the MIFH2 receiver to the MRCH2 controller using the provided MRC2 cable, ensuring a snug and secure connection at both ends. Verify the cable is fully inserted to prevent intermittent signal loss or connectivity issues. The receiver acts as a crucial bridge between the controller and your HVAC system, facilitating seamless communication.
Position the receiver in a central location, minimizing obstructions that could interfere with the wireless signal. Avoid placing it near large metal objects or electronic devices that may cause interference. Once connected, power on the receiver and confirm the indicator light illuminates, signaling proper operation. This step is vital for establishing a reliable link.
Wiring Diagram and Connections
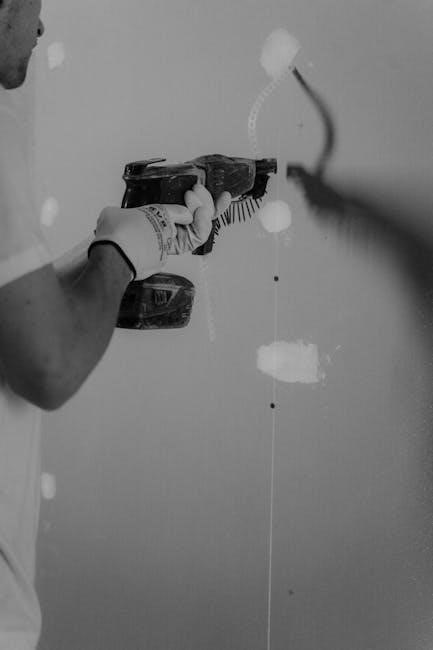
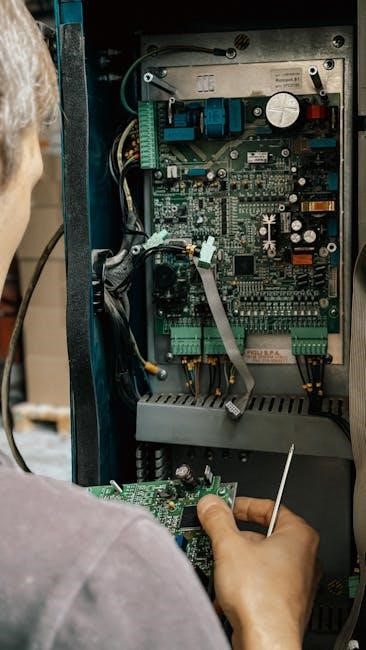
Refer to the detailed wiring diagram included in this manual for precise connection instructions. Incorrect wiring can damage the system or void the warranty; Ensure all power is disconnected before commencing any wiring work. Identify the appropriate terminals on your HVAC unit and the MRCH2 controller, matching wire colors carefully.
Securely connect the wires using appropriate connectors, ensuring a firm and reliable connection. Double-check all connections before restoring power. Pay close attention to polarity and grounding requirements. A professional HVAC technician should perform the wiring if you are unfamiliar with electrical work. Proper wiring is paramount for safe and efficient operation.
Power Supply Requirements
The MRCH2 system requires a stable 24VAC power supply, typically sourced from the HVAC unit’s control board. Verify your HVAC system provides this voltage before installation. Do not connect the MRCH2 to a mains voltage power source, as this will cause irreparable damage and poses a safety hazard. Ensure the power supply is adequately rated to handle the combined current draw of the MRCH2 controller and the MIFH2 receiver.
Use appropriately sized wiring for the power connection, following local electrical codes. A dedicated transformer may be necessary if your HVAC system does not provide a suitable 24VAC output. Always disconnect power before making any connections.
Configuration and Setup
Initial setup involves powering on the system, checking connections, and establishing network connectivity via Wi-Fi or Ethernet. Pair the MRCH2 with your HVAC system.
Initial Power-Up and System Check
Upon initial power-up, carefully observe the MRCH2 controller’s display for any error messages or unusual behavior. Verify that the MIFH2 receiver is also powered on and displaying a stable signal indicator. A thorough system check is crucial before proceeding with network configuration or HVAC pairing.
Confirm all wiring connections are secure and correctly implemented according to the wiring diagram. Cycle the HVAC system through its various modes – heating, cooling, and fan-only – to ensure the MRCH2 controller accurately reflects the system’s operational status. Document any discrepancies or issues encountered during this initial check for efficient troubleshooting later. This preliminary assessment safeguards against potential complications during the full setup process.
Network Connectivity (Wi-Fi/Ethernet)
The MRCH2 system supports both Wi-Fi and Ethernet connectivity for remote access and control. To connect via Wi-Fi, access the network settings menu on the controller’s display and select your desired network from the available list. Enter the network password accurately when prompted. For Ethernet, simply connect an Ethernet cable from the MRCH2 to your router.
Verify successful connection by checking the network status indicator on the controller. Ensure your router’s firewall isn’t blocking the MRCH2’s communication. A stable internet connection is essential for remote features. Test connectivity by attempting to access the system through the associated mobile application or web interface. Document any network-related issues encountered during setup.
Pairing the MRCH2 with the HVAC System
Successful pairing is crucial for seamless control of your HVAC system. Begin by ensuring your HVAC system is powered on and in a compatible mode. Access the pairing mode on the MRCH2 controller through the settings menu. The controller will initiate a search for compatible HVAC systems.
Follow the on-screen prompts, which may involve entering a specific code displayed on your HVAC system’s control board. Once the MRCH2 detects your system, confirm the pairing request. A successful pairing will be indicated by a confirmation message on the controller’s display. Verify functionality by testing basic HVAC controls – heating, cooling, and fan operation.
Setting System Parameters
Customizing system parameters optimizes performance and user experience. Access the settings menu on the MRCH2 controller to configure parameters like temperature units (Celsius or Fahrenheit), fan speed settings, and scheduling preferences. Define temperature setpoints for heating and cooling modes to match your comfort levels.
Configure scheduling to automate HVAC operation based on your daily routine, maximizing energy efficiency. Explore advanced settings for features like swing mode adjustment and filter change reminders. Save your customized settings to ensure they are retained after power cycles. Regularly review and adjust parameters as needed to maintain optimal system performance.
Troubleshooting
Resolve common issues with our guide! Address installation problems, connectivity concerns, and decipher error codes for a smoothly functioning MRCH2 system.

Common Installation Issues
Several issues can arise during MRCH2 installation. Incorrect mounting, failing to disconnect power before beginning, and improper alignment are frequent problems. Ensure the controller is securely fastened and level for optimal performance. Wiring errors, such as loose connections or incorrect wire placement, can also cause malfunctions.
Double-check the wiring diagram and connections meticulously. A common mistake involves reversing polarity, leading to system instability. Furthermore, verify compatibility between the MRCH2, MIFH2 receiver, and your existing HVAC system. Incorrect component matching can prevent proper operation. Always consult the complete installation manual for detailed guidance and safety precautions.
Connectivity Problems
MRCH2 system connectivity issues often stem from network configuration. Verify Wi-Fi or Ethernet connections are stable and the network password is correct. Ensure the MRCH2 is within range of the wireless router, minimizing interference from other devices. Check the router’s firewall settings, potentially blocking MRCH2 access.
If using Ethernet, confirm the cable is securely connected to both the MRCH2 and the router. Pairing failures with the HVAC system can occur if the receiver isn’t properly initialized. Restarting both the MRCH2 controller and the HVAC system can often resolve temporary glitches. Consult the manual for specific troubleshooting steps related to network settings and pairing procedures.
Error Codes and Solutions
The MRCH2 system utilizes error codes to diagnose issues. Code 101 indicates a network connectivity failure; verify Wi-Fi or Ethernet connections and router settings. Code 202 signals a pairing problem with the HVAC system – re-initiate the pairing process carefully. A Code 301 suggests a power supply issue; check the power adapter and wiring.
Code 404 often relates to firmware corruption; a firmware update may be necessary. Refer to the detailed error code list in the full installation manual for comprehensive solutions. If an error persists after attempting the recommended fixes, contact technical support with the specific error code for further assistance.
Advanced Features
The MRCH2 enables remote access, smart home integration, and automatic firmware updates. Enjoy convenient control and enhanced system performance through these capabilities.
Remote Access and Control
The MRCH2 system provides comprehensive remote access and control capabilities, allowing users to manage their HVAC systems from virtually anywhere with an internet connection. This feature enhances convenience and energy efficiency, enabling adjustments to temperature settings, fan speeds, and operating modes remotely via a dedicated mobile application or web interface.
Users can monitor system status, receive alerts for maintenance needs, and create customized schedules to optimize comfort and reduce energy consumption. Secure access protocols ensure data privacy and system security. Remote diagnostics capabilities also allow authorized technicians to troubleshoot issues and provide support remotely, minimizing downtime and service calls.
Integration with Smart Home Platforms
The MRCH2 controller seamlessly integrates with popular smart home platforms, such as Google Assistant, Amazon Alexa, and others, expanding automation possibilities. This integration allows for voice control of HVAC functions, enabling users to adjust temperature and settings hands-free. Automated routines can be created, triggering HVAC adjustments based on pre-defined schedules or external events.
Furthermore, the MRCH2 can participate in broader smart home scenarios, coordinating with other connected devices like lighting and security systems. This interconnectedness enhances energy savings and overall home comfort. Platform compatibility ensures a user-friendly experience and simplified control through existing smart home ecosystems.
Firmware Updates

Maintaining up-to-date firmware on your MRCH2 controller is crucial for optimal performance and security. Regular firmware updates deliver enhanced features, bug fixes, and improved compatibility with smart home platforms. Updates are typically delivered over-the-air via a secure network connection, ensuring a convenient and hassle-free process.
The system will automatically notify you when updates are available, prompting you to initiate the download and installation. It is essential not to interrupt the update process to prevent system instability. Detailed instructions are provided within the MRCH2 interface, guiding you through each step. Checking for updates periodically guarantees your system benefits from the latest advancements.
Maintenance and Support
Regular cleaning extends the MRCH2’s lifespan. Warranty details are included; contact technical support for assistance with any issues or questions regarding installation.
Cleaning and Care
Maintaining the MRCH2 controller ensures optimal performance and longevity. Regularly wipe down the controller’s exterior with a soft, dry cloth to remove dust and debris. Avoid using abrasive cleaners or solvents, as these can damage the surface. For stubborn marks, lightly dampen the cloth with water, ensuring it is wrung out thoroughly before use.
The MIFH2 receiver should also be kept clean and free from obstructions. Ensure adequate ventilation around the receiver to prevent overheating. Periodically inspect the wiring connections for any signs of corrosion or damage. If any issues are detected, address them promptly to avoid potential system malfunctions. Proper care will contribute to the reliable operation of your MRCH2 system for years to come.
Warranty Information
The MRCH2 system components – controller, receiver, and cable – are covered by a limited warranty against defects in materials and workmanship. This warranty begins on the date of original purchase and extends for a period of one year. During this period, we will repair or replace, at our option, any defective part.
This warranty does not cover damage resulting from improper installation, misuse, neglect, or unauthorized modifications. To make a warranty claim, please contact our technical support team with proof of purchase. Shipping costs for returned items are the responsibility of the customer. This warranty provides specific legal rights, and other rights may vary by location.
Contacting Technical Support
For assistance with MRCH2 installation, configuration, or troubleshooting, our dedicated technical support team is available to help. You can reach us via phone at 1-800-SUPPORT (1-800-787-7678) during business hours, Monday through Friday, 8:00 AM to 5:00 PM Eastern Time.
Alternatively, you can submit a support request through our website at www.mrch2support.com. Please provide detailed information about your issue, including the model number, serial number, and a description of the problem. Expect a response within 24-48 hours. We also offer a comprehensive online knowledge base with FAQs and helpful articles.