
Nikon Coolpix P500 User Manual: A Comprehensive Guide
Welcome! This detailed manual assists users in maximizing their Nikon Coolpix P500’s potential, offering guidance from initial setup to advanced photographic techniques․
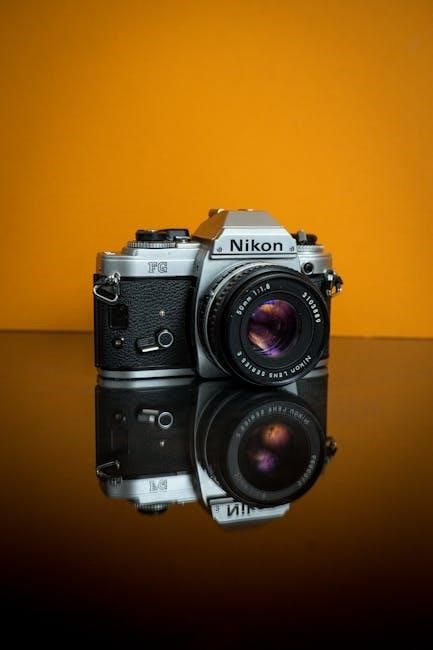
Nikon introduced the P500 in 2011, enhancing its COOLPIX Performance line with a compact, feature-rich camera designed for versatile photography experiences․
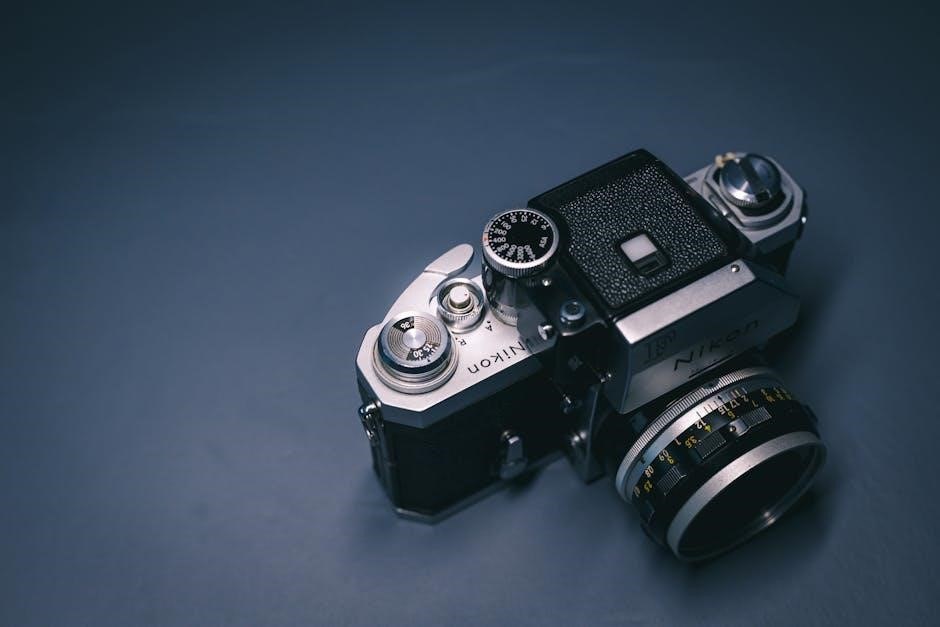
The Nikon Coolpix P500, released in February 2011, represents a significant addition to Nikon’s COOLPIX Performance series․ This camera was engineered to deliver a powerful combination of features and functionality within a remarkably compact body, appealing to both novice and experienced photographers․
It distinguishes itself with a substantial 12․2-megapixel CCD sensor and an impressive 36x optical zoom lens, enabling users to capture detailed images across a wide range of shooting scenarios․ The P500 aims to bridge the gap between point-and-shoot simplicity and the control offered by more advanced digital cameras․
This user manual is designed to guide you through every aspect of the P500, from initial setup and basic operation to exploring its more advanced capabilities․ Whether you’re a beginner or a seasoned enthusiast, this guide will help you unlock the full potential of your Nikon Coolpix P500․
Key Features and Specifications
The Nikon Coolpix P500 boasts a compelling array of features․ Its core is a 12․2-megapixel CCD image sensor, paired with a remarkable 36x optical zoom lens (equivalent to 22․5-810mm)․ This expansive zoom range is complemented by Nikon’s Vibration Reduction (VR) technology, minimizing blur caused by camera shake․
The camera captures images at a maximum resolution of 4000 x 3000 pixels and records 720p High Definition video․ It features a 3․0-inch LCD screen for composing shots and reviewing images․ Sensitivity ranges from ISO 80 to ISO 3200․
Storage utilizes SD/SDHC/SDXC memory cards․ Connectivity includes USB for data transfer․ Scene modes like Portrait, Landscape, and Sports simplify shooting in various conditions․ The P500 offers both Auto and Manual exposure modes, providing creative control for experienced users․
Getting Started with Your Camera
Begin your photographic journey! This section guides you through the initial steps: unboxing, battery charging, and memory card insertion for seamless operation․
Unboxing and Initial Setup
Carefully unpack your Nikon Coolpix P500! Inside the box, you should find the camera body, a rechargeable battery, a battery charger, a USB cable for data transfer and charging, and this comprehensive user manual․
Before first use, remove all protective plastic coverings from the camera and accessories․ Inspect the camera body and lens for any signs of damage during shipping․
Initial setup involves inserting the battery into the designated compartment and ensuring it clicks securely into place․ Next, locate the memory card slot (SD/SDHC/SDXC compatible) and gently insert a compatible memory card until it locks․
Power on the camera to begin the initial configuration process, including setting the date, time, and preferred language․ Follow the on-screen prompts to personalize your camera settings for an optimal user experience․
Charging the Battery
Proper battery charging is crucial for optimal performance of your Nikon Coolpix P500․ Locate the provided battery charger and connect it to a standard wall outlet․ Insert the rechargeable battery into the charger, ensuring the contacts align correctly – a green indicator light will typically illuminate․
The initial charge may take several hours to complete․ The indicator light will usually change color (often from blinking to solid) or turn off when the battery is fully charged․
Avoid interrupting the charging process․
You can also charge the battery in-camera using the USB cable connected to a computer, though this method is generally slower․ Always use the supplied Nikon charger to prevent damage․ A fully charged battery provides ample power for numerous shots and extended use․
Inserting Memory Card (SD/SDHC/SDXC)
Expanding your storage capacity is simple with the Nikon Coolpix P500․ Locate the memory card slot, typically found on the side or bottom of the camera, often protected by a door․ Ensure the camera is powered off before inserting or removing a card․
The P500 supports SD, SDHC, and SDXC memory cards․ Gently insert the card into the slot, following the directional arrow printed on the camera and the card itself․ Push until you hear a click, confirming it’s securely seated․
To remove the card, gently press it inwards again; it will then spring slightly outwards for easy removal․ Avoid forcing the card․ Regularly back up your images to a computer or external drive to prevent data loss․
Understanding the Camera Interface
Navigating the P500 involves familiarizing yourself with its buttons, dials, and LCD screen display․ This section details each control for seamless operation and customization․
Button and Dial Functions
The Power Button initiates and terminates camera operation, while the Shutter Button captures images – half-press for focus, full-press to shoot․ The Mode Dial selects shooting modes like Auto, Scene, and Manual, offering creative control․
Zoom Control adjusts magnification, utilizing the camera’s impressive optical zoom capabilities․ The Menu Button accesses the camera’s settings, allowing customization of image quality, ISO, and other parameters․ Directional Buttons navigate menus and select options efficiently․
The Display Button toggles the LCD screen’s information display․ The Function Button provides quick access to frequently used settings․ Understanding these controls is crucial for mastering the Nikon Coolpix P500 and unlocking its full potential for capturing stunning photographs․
Menu Navigation and Settings
Accessing the Menu is done via the dedicated ‘Menu’ button, presenting a structured interface categorized into shooting, playback, and setup options․ Navigation utilizes the directional pad to scroll through menus and settings․ Pressing ‘OK’ confirms selections․
Shooting Menu controls image quality (resolution, compression), ISO sensitivity, white balance, and focus modes․ The Playback Menu manages image viewing, deletion, and protection․ Setup Menu handles language, date/time, and display settings․
Customization is key; explore options like image stabilization (VR), auto exposure compensation, and digital zoom settings․ Familiarizing yourself with these menus allows precise control over the camera’s functions, tailoring it to your photographic style and preferences․
Display Information and Indicators
The Nikon Coolpix P500 features a 2․7-inch LCD screen displaying crucial shooting information․ This includes battery level, remaining shots, shooting mode (Auto, Scene, Manual), and image quality settings (resolution, compression)․ During playback, the screen shows image details like file number and shooting date․
Indicator icons provide quick status updates․ A focus lock indicator confirms sharp focus, while an exposure compensation indicator displays adjustments․ The histogram visually represents tonal distribution, aiding in proper exposure․ A blinking icon often signals the camera is processing or saving data․
Understanding these visual cues enhances your shooting experience, allowing for informed adjustments and optimal results․ Regularly checking the display ensures you’re aware of the camera’s current status․
Shooting Modes and Settings
Explore diverse options! The P500 offers Auto mode for simplicity, vibrant Scene modes, and full Manual control over aperture, shutter speed, and ISO settings․
Auto Mode for Beginners
Effortless Photography: Auto mode is the ideal starting point for new users, simplifying the photographic process․ The Nikon Coolpix P500 intelligently analyzes the scene, automatically selecting optimal settings for exposure, focus, and white balance․ This eliminates the need to manually adjust complex parameters, allowing you to concentrate on composition and capturing the moment․
Simply point and shoot – the camera handles the technical details․ Auto mode excels in various lighting conditions, from bright sunlight to indoor environments․ It’s perfect for everyday snapshots, family gatherings, and casual photography․ While offering convenience, remember that Auto mode provides limited creative control․ For more advanced users seeking customization, explore the Scene modes or Manual mode for greater flexibility and artistic expression․
To activate Auto mode, simply set the mode dial on the camera to the ‘Auto’ position․
Scene Modes (Portrait, Landscape, Sports, etc․)
Optimized for Specific Situations: The Nikon Coolpix P500 features a range of Scene modes designed to optimize camera settings for particular shooting scenarios․ These pre-programmed settings simplify photography, delivering enhanced results without manual adjustments․ Common Scene modes include Portrait, Landscape, Sports, Night Portrait, Party, Beach, and Snow․
Portrait mode softens backgrounds and emphasizes the subject’s face․ Landscape mode prioritizes sharpness and vibrant colors for expansive outdoor scenes․ Sports mode utilizes faster shutter speeds to freeze motion․ Selecting the appropriate Scene mode ensures the camera is tailored to the specific demands of the subject and environment․
Access Scene modes via the mode dial, then navigate the menu to choose the desired setting․ Experiment with different modes to discover their unique effects and enhance your photographic creativity․
Manual Mode: Aperture, Shutter Speed, and ISO
Full Creative Control: Manual mode on the Nikon Coolpix P500 grants photographers complete control over exposure settings – aperture, shutter speed, and ISO sensitivity․ This mode is ideal for experienced users seeking precise image customization and artistic expression․
Aperture controls the lens opening, influencing depth of field․ A wider aperture (lower f-number) creates shallow depth of field, blurring backgrounds, while a narrower aperture (higher f-number) increases depth of field, keeping more of the scene in focus․ Shutter speed determines the duration the sensor is exposed to light, affecting motion blur․ ISO adjusts the sensor’s sensitivity to light; higher ISO values are useful in low-light conditions but can introduce noise․
Mastering these settings allows for nuanced control over image appearance and creative effects․
Advanced Features and Techniques
Explore Further: Unlock the Nikon Coolpix P500’s full potential with techniques like utilizing its powerful zoom, image stabilization, and diverse focusing options․
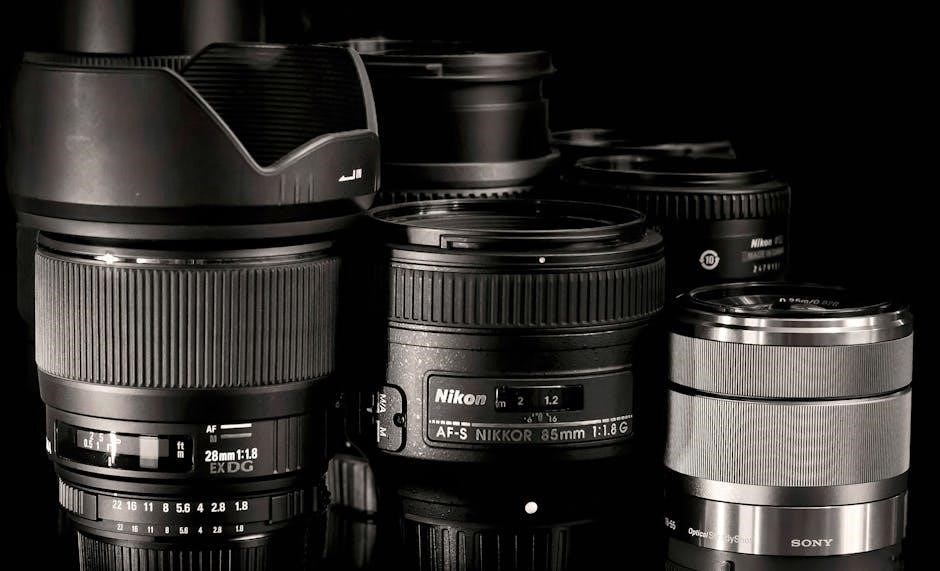
Zoom Functionality and Optical Zoom
Mastering the Zoom: The Nikon Coolpix P500 boasts an impressive 36x optical zoom, allowing you to capture distant subjects with remarkable clarity․ Unlike digital zoom, which simply crops and enlarges the image resulting in quality loss, optical zoom utilizes the lens’s physical focal length to magnify the scene․
Zoom Control: The zoom is primarily controlled via the zoom lever surrounding the shutter button․ Gentle pressure provides a slower, more controlled zoom, while a quicker push delivers a faster zoom speed․ Remember to utilize the image stabilization (VR) system, especially at higher zoom levels, to minimize blur caused by camera shake․
Digital Zoom Consideration: While the P500 also offers digital zoom, it’s recommended to rely on the optical zoom whenever possible for optimal image quality․ Digital zoom can be useful in specific situations, but be mindful of the potential for reduced detail and increased noise․
Image Stabilization (VR) System
Vibration Reduction Explained: The Nikon Coolpix P500 incorporates Nikon’s Vibration Reduction (VR) system, a crucial feature for achieving sharp images, particularly in low-light conditions or when using the camera’s powerful zoom capabilities․ VR technology minimizes blur caused by camera shake, allowing for handheld shooting at slower shutter speeds․
Activating VR: The VR system can be activated through the camera’s menu․ Several VR modes are available, including Normal, Active, and Off․ Active mode provides enhanced stabilization for situations involving significant movement, such as shooting while walking․
Optimizing VR Performance: For best results, ensure the VR mode is appropriately selected for your shooting scenario․ While VR significantly reduces blur, it’s still advisable to maintain a stable shooting posture and, when possible, use a tripod for maximum sharpness․
Focusing Modes (Auto, Manual, Face Detection)
Diverse Focusing Options: The Nikon Coolpix P500 offers a range of focusing modes to suit various shooting situations․ Auto Focus (AF) is ideal for general photography, automatically selecting focus points․ Manual Focus (MF) grants precise control over focus, useful for specific creative effects or challenging subjects․
Face Detection Technology: A standout feature is Face Detection AF, which automatically identifies and focuses on faces within the frame, ensuring sharp portraits․ This mode enhances subject clarity, even in crowded scenes․ The camera can detect multiple faces simultaneously․
Selecting Focus Modes: Access focusing mode options through the camera’s menu or quick settings․ Experiment with each mode to determine the best approach for your desired outcome, considering subject movement and lighting conditions․

Playback and Image Management

Review and Organize: Easily view captured photos and videos on the LCD screen, delete unwanted files, and connect your Coolpix P500 to a computer via USB․
Viewing Images on the LCD Screen
Navigating Your Photos: After capturing images, utilize the playback button (typically indicated by a triangle symbol) to enter playback mode․ The LCD screen will display the most recently taken photograph․ Use the zoom control to quickly magnify images for detailed inspection of focus and clarity․
Playback Options: The directional pad allows you to scroll through your stored images and videos․ Pressing the ‘OK’ button will display additional information, such as shooting date, time, and camera settings․ You can also activate a slideshow function for automated viewing․
Display Modes: Customize the display by accessing the playback menu․ Options include displaying shooting information, histograms for exposure analysis, and even rotating images for proper orientation․ The screen’s brightness can also be adjusted for optimal viewing in various lighting conditions, ensuring clear visibility of your cherished memories․
Deleting Images
Removing Unwanted Photos: To delete images, first enter playback mode using the playback button․ Select the image you wish to remove using the directional pad․ Press the menu button, and navigate to the delete option – often represented by a trash can icon․
Deletion Confirmation: The camera will prompt you to confirm the deletion․ Choose ‘Yes’ to permanently erase the selected image․ Be cautious, as deleted images cannot be easily recovered․ You can also select multiple images for batch deletion, streamlining the process․
Protecting Your Photos: To prevent accidental deletion, utilize the protect function within the playback menu․ Protected images are marked with a key icon and will not be affected by standard deletion commands․ Remember to unprotect images when you wish to delete them later․
Connecting to a Computer (USB)
Transferring Your Images: To connect your Nikon Coolpix P500 to a computer, use the provided USB cable․ Ensure the camera is powered off before connecting․ Once connected, turn the camera on․ Your computer should recognize the camera as a removable drive, often labeled “Nikon․”
File Transfer Options: You can then browse the camera’s DCIM folder to access your photos and videos․ Copy and paste or drag and drop the desired files to your computer․ Alternatively, utilize Nikon’s Transfer software (if installed) for organized image management․
Safe Disconnection: Before disconnecting the USB cable, safely eject the camera from your computer’s operating system to prevent data corruption․ Power off the camera after safe ejection․

Troubleshooting Common Issues
Resolving Problems: This section provides solutions for frequent concerns, including battery malfunctions, memory card errors, and addressing potential image quality discrepancies․
Battery Problems
Addressing Power Issues: If your Nikon Coolpix P500 isn’t powering on, first ensure the battery is correctly inserted and fully charged using the provided charger․ A faulty charger or cable can prevent proper charging; try a different outlet or USB port․
If the camera powers on briefly then shuts off, the battery may be nearing the end of its life or experiencing a temperature issue – avoid extreme heat or cold; Check for any corrosion on the battery terminals and clean them gently if necessary․
The camera’s battery indicator might not always be accurate; a full charge doesn’t guarantee extended use, especially with features like the zoom and image stabilization actively engaged․ Consider carrying a spare, fully charged battery for longer shooting sessions․ Finally, ensure the battery compartment door is securely closed․
Memory Card Errors
Troubleshooting Card Issues: If your Nikon Coolpix P500 displays a memory card error, first power off the camera and re-insert the SD, SDHC, or SDXC card, ensuring it clicks securely into place․ Try a different memory card if available to determine if the issue lies with the card itself․
Corrupted data can also cause errors; format the card within the camera (not on your computer) to resolve this, but remember this will erase all data․ Avoid removing the card during file transfer or while the camera is operating․
Ensure the card isn’t write-protected (check for a small switch on the side)․ Older or lower-quality cards may be incompatible; use a reputable brand and check the camera’s manual for supported card types and capacities․
Image Quality Concerns
Addressing Image Issues: If your Nikon Coolpix P500 images appear blurry, check the focus mode and ensure it’s appropriate for your subject․ Utilize the image stabilization (VR) system, especially in low light or when using the zoom, to minimize camera shake․
Low image quality can also stem from incorrect settings․ Experiment with different resolutions and quality levels in the camera’s menu; higher settings produce larger, more detailed files․ Ensure the lens is clean, as smudges can significantly impact clarity․
Consider the ISO setting; higher ISO values introduce more noise․ Utilize the camera’s scene modes for optimal results in various conditions․ Review images on the LCD screen carefully to identify and address any recurring issues․